Playstation 4
Follow these step by step instructions to link your device to YonderTV
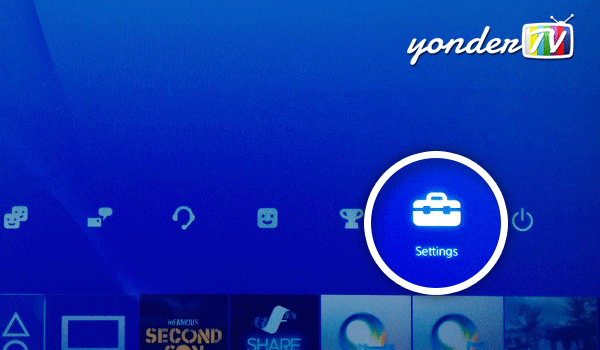
Step 1
From your main PS4 dashboard, navigate to Settings
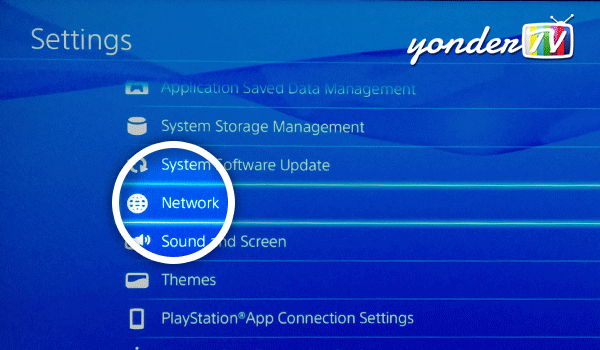
Step 2
In the settings list, scroll down and select Network
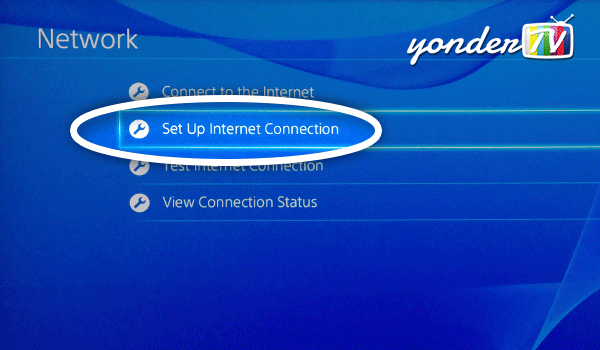
Step 3
Select Set Up Internet Connection
Step 4
Depending on how you connect to the internet, select Use Wi-Fi (if you are using Wi-Fi / wireless Internet), or Use LAN Cable (if you are using Ethernet or cable).
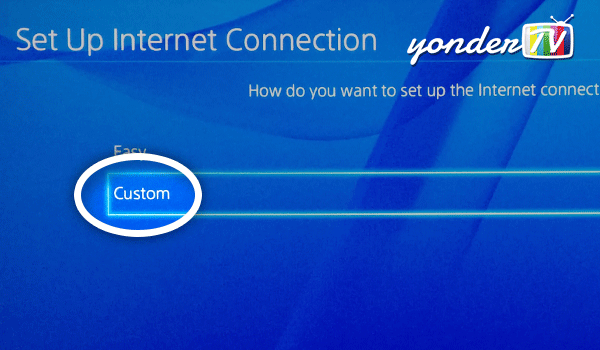
Step 5
Select Custom
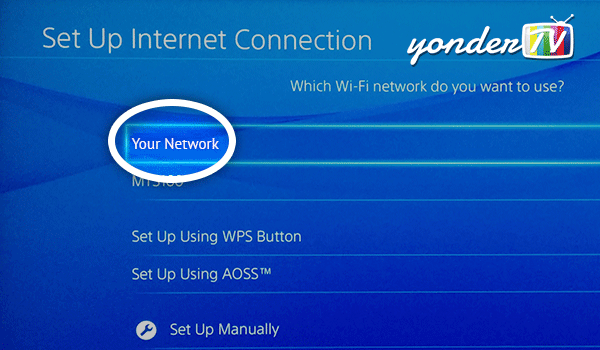
Step 6
If you selected Use WiFi earlier, you will be presented with a list of Wi-Fi networks. Select the Wi-Fi you use in your home.
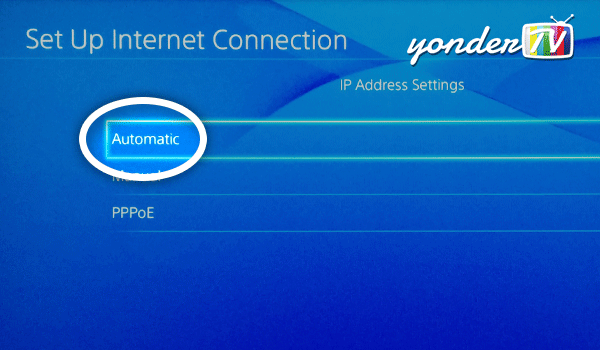
Step 7
Select Automatic.
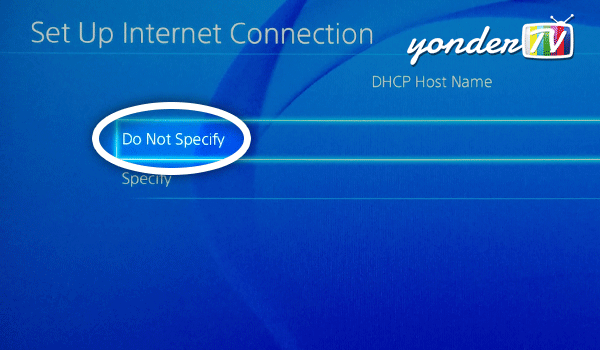
Step 8
Select Do Not Specify.
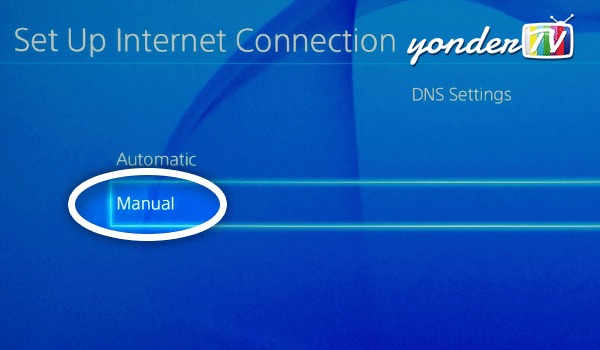
Step 9
Select Manual. This part is very important! :-)
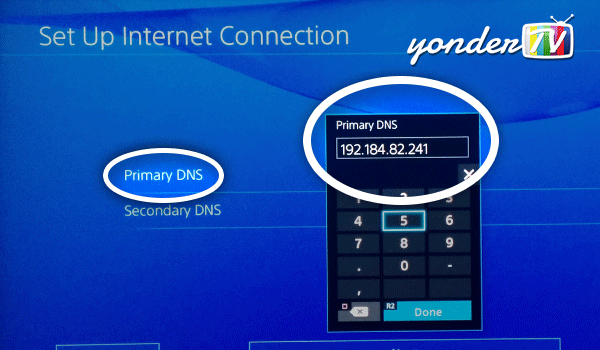
Step 10
Select Primary DNS (press X). A new window should open up as shown. Enter the YonderTV numbers 192.184.82.241 exactly. Although not necessary, you may also enter YonderTV numbers 168.235.70.182 in the Secondary DNS.
Step 11
Select Automatic
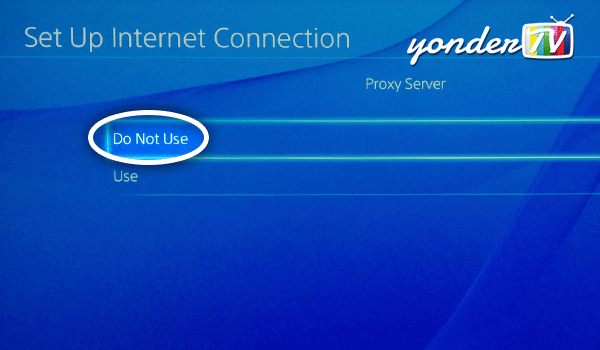
Step 12
Select Do Not Use
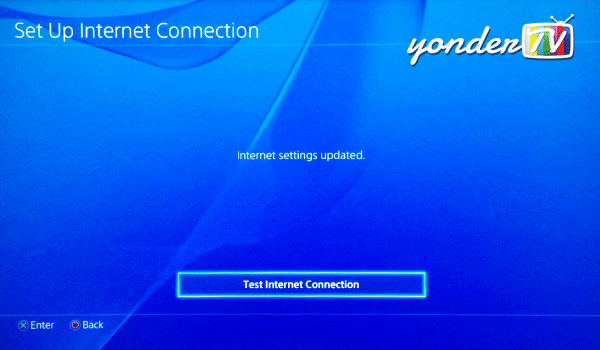
Step 13
Finally, click Test Internet Connection
Step 14
Next step is important, simply restart your PS4. Simple? Yes, we think so.